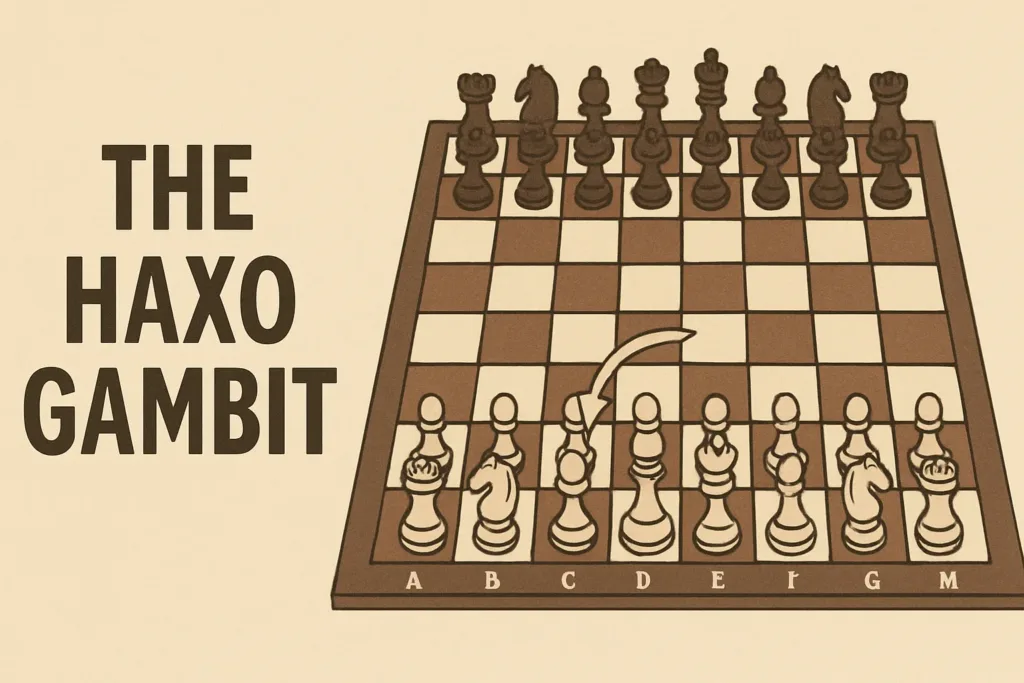
If you enjoy tactical chaos, early fireworks, and forcing your opponent to dance awkwardly around the board: say hello to the Haxo Gambit. This isn’t just a trap. It’s a minefield disguised as normal opening development.
Let’s break down how it works and why it boasts a 63% win rate for White in online play.
1. The Opening Moves: Enter the Scotch Gambit
The Haxo Gambit is a line inside the Scotch Gambit, which itself begins after:
1. e4 e5 2. Nf3 Nc6 3. d4 exd4 4. Bc4
Instead of recapturing the pawn on d4, White prioritizes development. The move 4.Bc4 eyes f7 and dares Black to try and hold onto the pawn. Many players (especially below master level) won’t realize they’re being pulled into a tactical web.
The most popular response from Black is:
4… Bc5
It looks natural. Develop a piece, defend the extra pawn. But it’s exactly what White hopes for.
2. The Fork Trap: Ng5 and the Nh6 Lifeline
Now White strikes with:
5. Ng5
Threatening the classic fork on f7 with Nxf7 and Qh5+. Black has only one good move:
5… Nh6
Anything else? It collapses. For instance, 5… Nf6? loses immediately after 6. Nxf7, and 5… Qf6? is no better. Nh6 is the only defense, but White goes for the sacrifice anyway.
6. Bxf7+ Nxf7 7. Nxf7 Kxf7
Three minor pieces have disappeared, but the party’s just getting started.
3. The Queen Enters: Pressure on the King
White now continues with:
8. Qh5+ g6 9. Qxc5
White regains the sacrificed bishop. Material is now even, but look closer: Black’s king is stranded, unable to castle, and awkwardly placed on f7. Stockfish may call this “equal”, but you’re the one having all the fun.
4. Optional Detour: The c3 Line That Destroys
Let’s take a slightly different route that’s still part of the Haxo’s territory. After 4…Bc5, instead of going straight for the fork, White can play:
5. c3
This invites Black to take the c3 pawn.
5… dxc3
It’s the most common move, but already a mistake. And now, boom:
6. Bxf7+ Kxf7 7. Qd5+
White double-attacks the king and bishop. The bishop on c5 falls next move. Black often tries to run with:
8… Ke8
9. Qh5+ g6 10. Qxc5
Same motif, but here’s the twist: Black’s king is even worse off. They can’t castle. Their coordination is shattered. And you didn’t even need to stay down material to get here. At this point, White already has 72% chances to win the game, according to Lichess database.
5. Why This Works So Well
In every branch of the Haxo Gambit, two things are clear:
- Black’s natural moves fail. Normal developing moves lead to disaster.
- White dictates the pace. Even if Black plays the best defenses (which most don’t), you’re still in a playable game with attacking chances.
Here’s the truth: This is “Fried Liver on steroids.” And if you play online or in rapid games, people will fall into it over and over again.
6. A Sample Miniature: Collapse by Natural Moves
Let’s say Black plays all the standard-looking responses:
- They move the bishop to c5.
- They take your pawn on c3.
- They walk into Bxf7+ and Qd5+.
- They try to save the bishop.
- They think they can survive.
One common continuation:
…and Black is already down a rook and a bishop, down coordination, and suffering.
7. When Black Tries to Be Smart and Plays 5…Nf6
If Black captures on c3, they walk into known traps. But now let’s say:
5… Nf6
A reasonable move. Black develops a piece, eyes the center, and prepares to castle. So how should White respond?
Step 1: Castle and Wait for Them to Slip
6. O-O
This is a key idea in the Haxo: useful waiting moves. Castling keeps your king safe while giving Black just enough rope to hang themselves. You’re giving them the chance to fall into the same trap, because, 6 times out of 10, they will.
From here, Black might feel encouraged. The pawn on d4 looks tempting. So they take:
6… dxc3
Looks harmless, right? Wrong. That innocent pawn grab opens the gates for your attack.
Step 2: E5 – Chase the Knight, Open the Lines
7. e5!
This push drives the knight off its f6 post. Black’s most common move here is:
7… Ne4 or 7… Ng4
(Yes, really. Some even try 7… Nh5, as if fleeing the scene.)
No matter where the knight goes, the same idea strikes again:
Step 3: Bishop Sacrifice Returns
8. Bxf7+ Kxf7 9. Qd5+
Double attack: King and bishop. This is the soul of the Haxo Gambit. Black’s coordination collapses, and you reclaim your sacrificed bishop with interest.
8. What If Black Tries 5… h6 Instead?
Some opponents, wary of Ng5, play:
5… h6
Trying to stop the fork before it begins. But the Haxo still bites back. White calmly castles:
6. O-O
Another useful waiting move. At some point, Black gets impatient and takes on c3, and the trap springs again.
7. Bxf7, and we’re back in familiar territory.
9. The Point Isn’t Memorization. It’s Pattern Recognition
Here’s why the Haxo Gambit works so well:
- Every natural move by Black invites tactics.
- White’s development is effortless.
- The central file opens, and Black’s king is trapped.
Whether Black takes on c3 right away or delays it after …Nf6 or …h6, the result is the same: they fall behind, get attacked, and often lose before move 15.
Check out this game where a Grandmaster fell for this trap:
10. Why You Should Play the Haxo Gambit
- No risk: You either win quickly or get a comfortable game with the initiative.
- Explosive traps: Even strong players can walk into these.
- Tons of themes: Forks, double attacks, x-ray pins, exposed kings.
- It’s fun. Admit it. This isn’t about “soundness.” It’s about joyfully wrecking opponents in 12 moves.
Final Thoughts
The Haxo Gambit isn’t officially famous like the Evans or the Danish, but it’s one of those secret weapons that over-perform in practical play. If you like sharp tactical battles where you seize control early and never let go, it’s time to add this to your repertoire.
Because when your opponent plays 4…Bc5?
They’ve just walked into your trap.
Ready to try it? Fire up a board, go 1.e4, and let the chaos begin.

I’m Xuan Binh, the founder of Attacking Chess, and the Deputy Head of Communications at the Vietnam Chess Federation (VCF). My chess.com and lichess rating is above 2300. Send me a challenge or message via Lichess. Follow me on Twitter (X) or Facebook.


5 thoughts on “Haxo Gambit: The Scotch Trap That Devours the Unprepared”
Comments are closed.